Sometimes the help of a single crystal is not enough, in such cases masters in the crystal healing arts construct a crystal grid. Now you might be wondering “what are crystal grids”, basically they are a powerful combination of crystals arranged in a specific geometric pattern to strengthen their effects and results.
This collective crystal cleansing act can clear the mind, body and spirit at once. It is a very efficient way to use crystals and certainly, a must have piece of information for anyone looking into healing crystals. Luckily even amateurs in the healing arts can use this method to gain benefits from this grid. It’s also quite easy to construct, If you have the proper crystals.
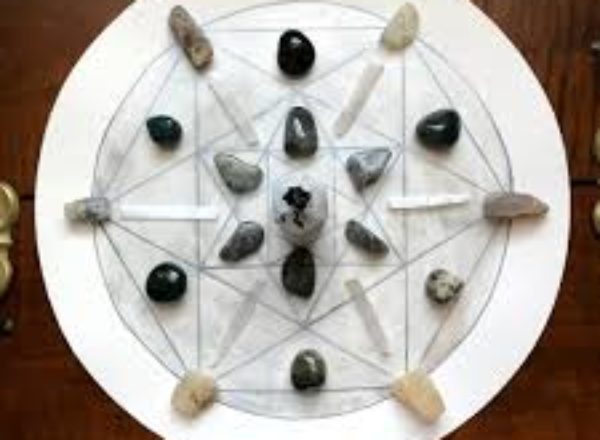
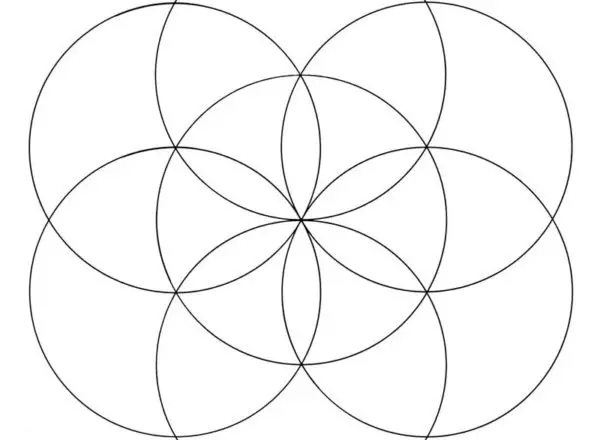
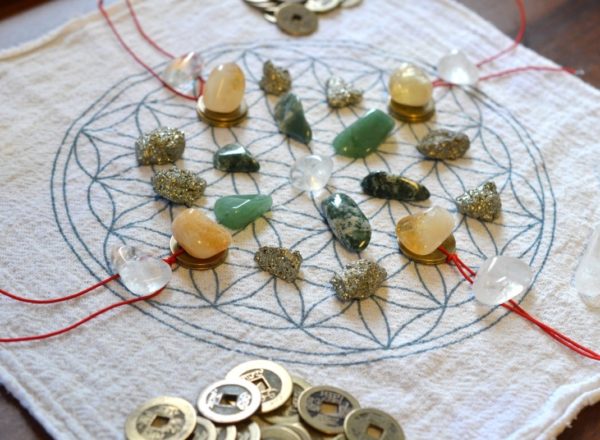
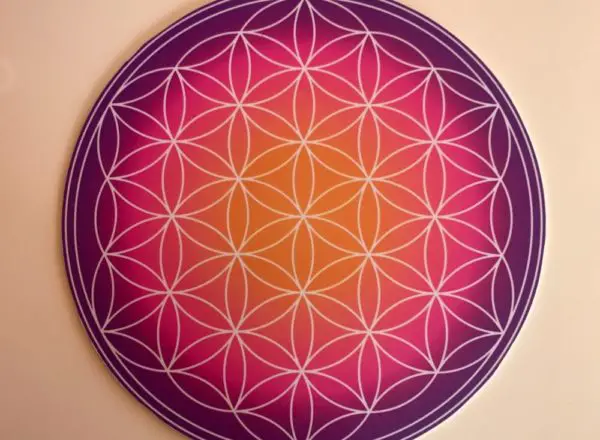
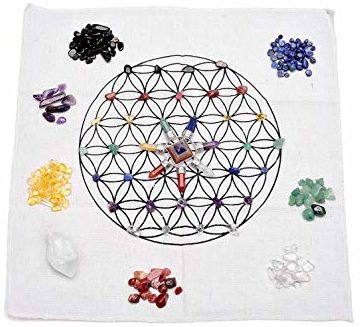
Some Crystal Grid Layouts:
This guide will help you create your very own crystal grid. No need to buy one from the market just be sure to follow these steps to get the grid you need. This guide will show you everything from the type of crystals to use to process of making a crystal grid pattern.
6 Easy Steps to Make Crystal Grids:
Phase 1, select the crystals you need:
This is a very important phase in the crystal energy grid making process, in this step we are going to choose the type of crystals we want for our grid. As we know that there are many types of crystals that affect different parts of our bodies and spirits hence it is essential that we must have a knowledge of the crystal we want.
- To make a chakra crystal grid pattern first, we must choose the purpose of our grid. What are we building it for?, what type of results do we desire? Which parts of the body is the grid going to affect? What chakra systems should it reform? These are the type of questions that we should ask ourselves prior to building a healing crystal grid layout.
- Note that it is preferable to use more than five types of crystals as it greatly magnifies the effects of the grid.
- Once you have selected the type of crystals you want you can move onto the next step, that is to charge and cleanse the crystals for a crystal energy grid.
Phase 2, charging and cleanse:
We have already explained and prepared a guide for those looking to cleanse other stones and charge them so please check that out for detailed information about this topic. Here we will only list and explain some of the most basic methods of charging your stone. This is an essential step in the crystal energy grid formation.
Natural light:

Light is a great way of charging your healing stones, what you need to do in order to cleanse your stones is to place them in moonlight for about six hours also it will be very beneficial to place them in the light of the rising sun.
Fire:
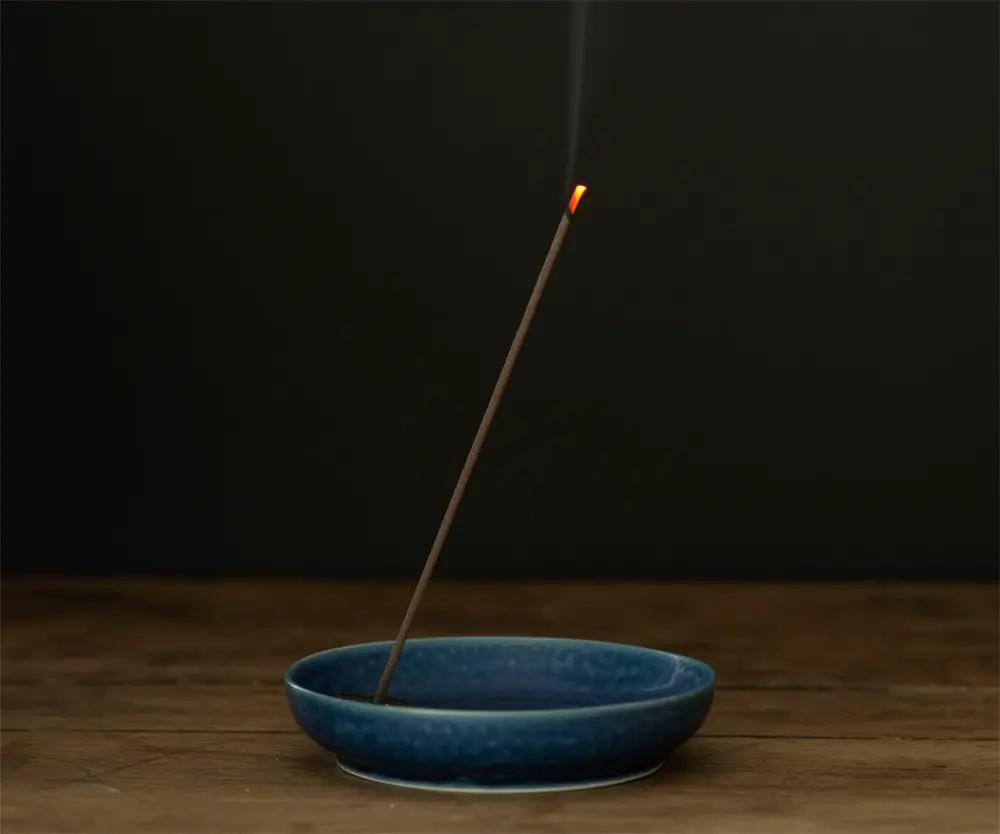 Using fire is a great and simple way to cleanse your stones. There is however a need of a smudging agent, typically sage is used in this process. Burn the sage at one end and place the crystals directly above it to charge the stone. This will surely charge it, now your stone is ready to participate in the crystal grid healing technique.
More help for this can be found in this video:
It is also possible to charge crystals with a crystal charging grid so if you have already made a crystal grid template than be sure to use it for charging purposes as well.
Phase 3, Crystal combinations:
Different combinations of crystals can be used. Before deciding on the type of stone combinations you want in your crystal grid be sure to check their compatibility. Some crystals have a somewhat overriding effect. They can mask the expression of other crystals because their own natural aura is too strong or is somewhat incompatible with the other stones. However, if you choose the right crystals than the results will be greatly enhanced or magnified.
- If you want to use the crystal grid template to eradicate a physical ailment you have, than use at least three types of stones recommended for that problem and use at least two other stones to cleanse your spirit and mind. Most of the ailments that you have will most likely have generated because of imbalances in your chakra systems.
- Also, if you want to do a general cleansing than use 7 crystals each representing a chakra type. This will ensure that all the chakra cornerstones of your body are stable and charged.
Phase 4, Lay out your crystal grid template:
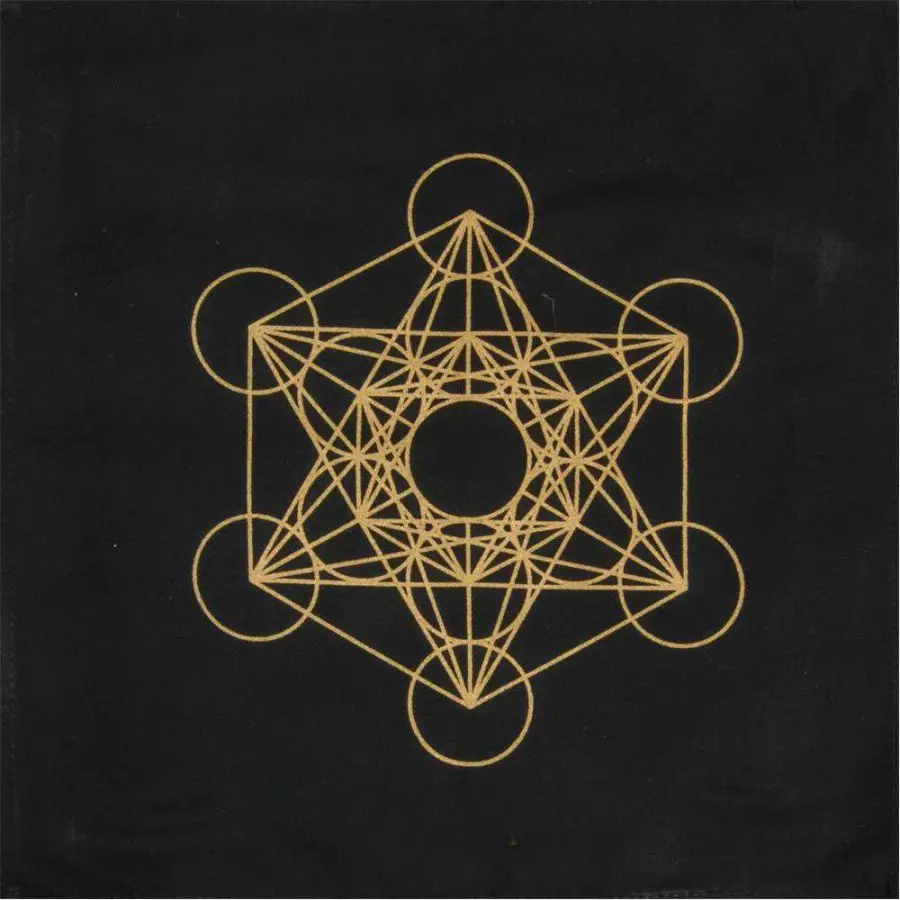
Laying out your crystal grid template is perhaps the most essential and important step in the formation of a crystal grid pattern. It is critical that you use a geometrical shape to align the energies of all your crystals. It has been believed and proven by scientists that humans all around the world love symmetry. People find beauty in symmetry it has something to do with the way our brain works we seem to love symmetry. So, it’s only natural that our crystals have to be in line to affect us in the most effective way possible. There are multiple geometric shapes that we can use to enhance the powers of our manifestation crystal grid, some of the best shapes are given below:
- In the first step you have to map the general layout of your crystal grid pattern. Draw the the crystal grid design you want on a piece of paper. You don’t necessarily have to place the paper underneath your crystals but if this is the first time you are making a crystal grid pattern than we recommend it.
- Be sure to make the crystal grid design symmetrical as it will be more effective that way.
- Place a large stone in the middle so that the other stones will benefit from it’s strong aura. If you don’t have a large stone then use another stone that has a strong presence. Yellow tiger stone can be a great option in such circumstances.
- Choose your healing crystal grid layout, what this means is that if you have 5 crystals then make a pentagonal geometrical shape. Or if you have eight crystals than make an octagon.
- In case you’re planning to use an odd number of crystals than place the strongest one in the center to amplify the effects of the other crystals.
- Sometimes the crystals have a more definite shapes this makes it easier for us to arrange them. Generally the rule of thumb here is to arrange themselves according to their own cuts and shape so if the crystal is a pentagon draw the layout as a pentagon.
Some sacred geometrical shapes (reiki crystal healing grid):
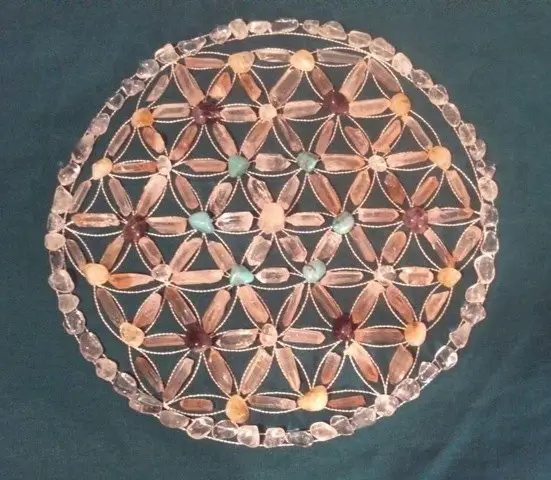
A great way to prepare a crystal grid for manifesting is to make reiki crystal healing grid. In order to do this place pencil shaped crystal in a hexagonal pattern around a central triangular crystal. This specific crystal arrangement magnifies the effect of the crystal grid template. reiki is a very special sacred crystal layout if you have the crystals to make this grid then remember to try out this specific shape. it is a very effective and powerful arrangement of crystals.
Phase 5, Preparations for using your crystals and constructing the crystal grid template:
The method of using your crystal grid template can be very important. Wrong methods of using your crystals may result in a loss of the powers of these crystals. Follow the following steps to get the most out of your crystals:
- It is very essential that you clean or purify the space around you before you begin the crystal grid session. In this purification process you can use a variety of different materials such as sea salt or the smoke from white sage.
- Firstly, as we’ve discussed before draw a map of where the crystals are supposed to be placed. Next place the paper on a flat surface.
- The type of surface you choose is very important, the best surfaces are natural surfaces. Placing the crystal on the ground is a very effective way to use the crystals, all the bad energy and out of sync chakra can be dispersed in the ground below. The earth is also a great way to charge your crystals you can dig a hole and place the crystals in the hole overnight. When you dig them out they will have been cleansed.
- OK, now that you have decided the surface you want to construct your healing crystal grid pattern on the rest is very simple just place the paper on which you drew your crystal healing layout on the surface and place the crystal on them.
- Congratulations you have constructed your very own crystal grid. With this knowledge you can make a crystal grid for protection or a crystal healing grid for treating ailments. Now that you know how to make a crystal grid it’s time to move on to the next step “how to use a crystal grid pattern”.
Phase 6, How to activate a crystal grid pattern:
Next up is the process of using this crystal. Place your hand above the center most crystal and think of the aspect of your life you want to improve, or the personality trait that you want to incorporate. If you have an ailment that you wish to remove than think of that. Once you’ve cleared your mind of all other thoughts and are only thinking about your problem than with the intention of solving your problem trace a line that touches all the crystals in the grid.
- Once you have done so 2 or 3 times you are done.
- The power of all these crystals will rid your body of any evil or bad energy that was present in you. It will also help stabilize the seven chakra centers of the human body. This act alone will heal you of any wounds physical or emotional, and will also help you unleash your true potential.
- Another method of using this crystal is to meditate in front of the grid. If you have problems clearing your mind for the crystal grid session than be sure to meditate in front of it this will definitely give you clarity. Not only of the mind but also of the spirit.
- Be sure to cleanse your crystals and recharge them after every session, so that you can reuse them again. This makes than more effective and in some cases also enhances their abilities.
Once you’ve done all this work you will surely feel enlightened by the power of the crystals.







Show Comments